
In order to navigate to the DNS Editor in your Plesk Panel, please follow the instructions below:
- Log into Plesk.
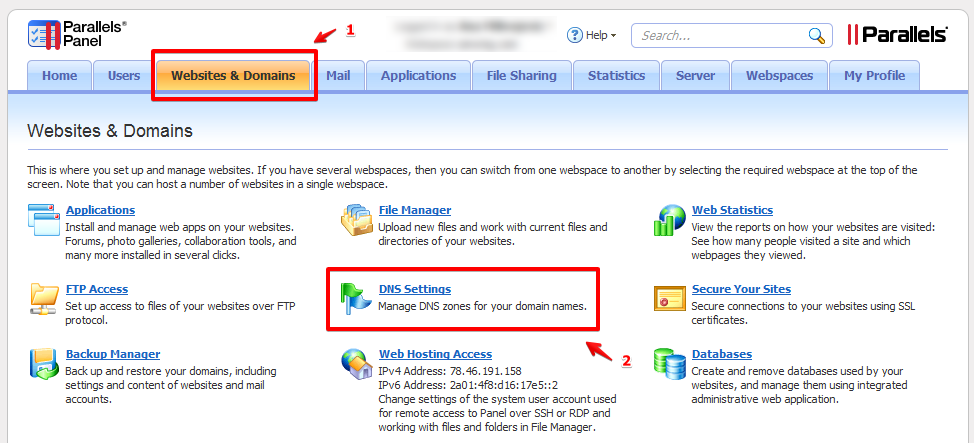
- Under Hosting Services, click on tab Websites & Domains.
- Find the domain to be edited, and click on the corresponding Control Panel link on the far right.
- Click the Websites & Domains tab.
- Click the DNS Settings link.
- Click on [Manage] to select the appropriate domain.
MX Records
To edit an MX record:
- Click on the existing MX Record under Host to edit.
- Change the Record type to MX (if necessary).
- Mail domain should be left blank.
- Set the Mail exchange server to the name of your mail server (for example mx0.perimeter.email).
- Priority Number(s) would be provided by the party who gave you the mail exchange server; first of all we will define as, very high(0) exchange server: mx0.perimeter.email, adding the other exchange servers with lower priority.
- very high(0) exchange server: mx00.perimeter.email
- high(10) exchange server: mx01.perimeter.email
- low(20) exchange server: mx02.perimeter.email
- if you want add your own excange mail server as failback, you can add it with priority 50. In plesk tipically mail.yourdomain.com: very low(50) exchange server: mail.domain.com.
- After making your changes, click OK.
The changes to the DNS Records will take between 4 to 8 hours to update worldwide.